Drywall Water Damage Repair & Seamless Texture Matching
Water intrusion inside a property creates immediate hazards that compromise both structural integrity and indoor air quality. Professional restoration requires locating hidden saturation, removing damaged materials, drying the structure, rebuilding wallboard, and matching the original texture for a seamless finish.
Understanding Drywall Water Damage Risks
Water intrusion inside a property creates immediate hazards that compromise both structural integrity and indoor air quality. When a plumbing pipe ruptures or an overhead roof leak seeps into interior wall cavities, porous gypsum board rapidly absorbs moisture. Unchecked saturation weakens structural fasteners, causes sagging, and creates an ideal environment for rapid mold growth.
Addressing water damage requires far more than applying a quick coat of paint over discolored surfaces. Trapped moisture behind wall cavities continues to deteriorate wooden framing and metal studs long after surface water dries. A complete restoration demands a systematic approach to locate hidden saturation, extract ruined materials, and stabilize the interior environment safely.
Property owners must act quickly when water damage appears on interior walls or ceilings. Prompt structural drying and professional material removal prevent progressive structural decay while keeping restoration costs manageable. Working with experienced technicians ensures that every step of the restoration process adheres to local safety codes and commercial building standards.
Phase 1: Comprehensive Inspection and Structural Moisture Mitigation
The restoration process begins with thorough moisture mapping using advanced thermal imaging and non-invasive moisture meters. Technicians track the exact path of water migration behind wallboard, baseboards, and structural framing. Identifying the full perimeter of wet materials ensures that no trapped moisture remains hidden inside enclosed wall cavities.
Once the damaged zone is mapped, technicians construct containment barriers using heavy plastic sheeting to isolate the work area. Negative air machines equipped with HEPA filtration prevent airborne dust, debris, and potential mold spores from spreading into unaffected rooms. This containment process protects overall indoor air quality while work is underway.
Removing saturated materials requires cutting away ruined gypsum board cleanly back to sound structural framing. Executing complete drywall repair for water-damaged walls requires extracting wet insulation, inspecting interior studs, and applying EPA-registered antimicrobial treatments to prevent fungal growth.
Thorough structural drying typically takes between twenty-four and forty-eight hours, depending on ambient humidity and air circulation. Technicians continuously monitor moisture levels in wooden studs and subflooring using specialized pin meters. Wall cavities are approved for reconstruction only after structural framing reaches safe equilibrium moisture content levels.
Phase 2: Professional Wallboard Installation and Structural Reconstruction
Reconstruction starts with installing high-grade, mold-resistant gypsum panels designed specifically for high-moisture environments. Technicians measure and cut new panels precisely to fit the exposed wall framing with minimal gap margins. Securing panels with corrosion-resistant drywall screws ensures long-term structural stability without risking fastener pops later on.
Once panels are mounted, high-strength fiberglass mesh or paper tape is applied across all seams to reinforce the joints. Technicians apply a heavy base coat of setting-type joint compound over the tape to establish a strong structural bond. This initial coat fills deep gaps and prevents joint cracking under normal building expansion and contraction.
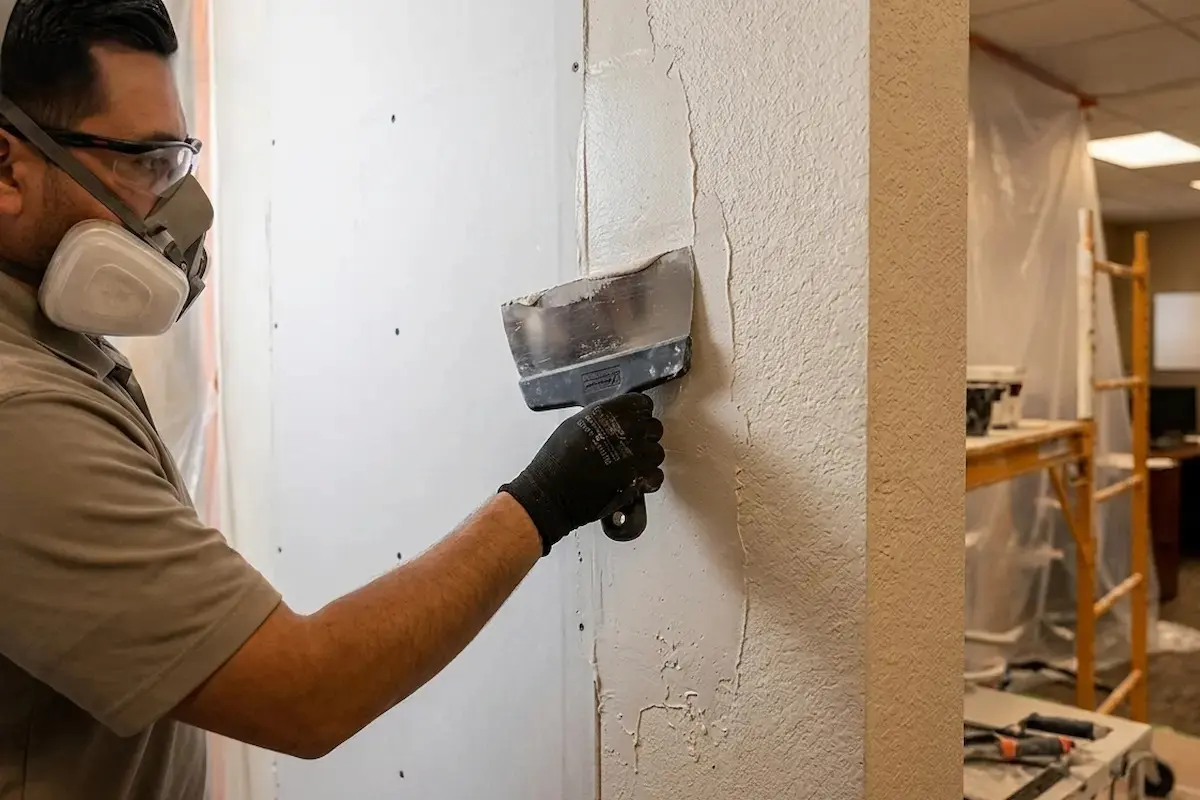
Applying subsequent coats of finishing compound requires a skilled touch to achieve a flat, uniform surface. Technicians use wide drywall knives to feather compound outward onto original wall surfaces, eliminating harsh ridges and transition lines. Proper feathering creates an extended, invisible transition zone between new wallboard and older surrounding walls.
Each layer of joint compound must dry completely before light sanding and broad feathering begin. Skipping drying time traps residual moisture under fresh compound, leading to joint tape blistering or finish failures later. Professional surface preparation guarantees a smooth, structurally sound substrate ready to accept custom wall textures.
Phase 3: High-Precision Drywall Texture Matching Techniques
Matching existing wall textures is one of the most technical challenges in interior wall repair. Original wall surfaces feature unique texture profiles created by specific application tools, compound viscosities, and spraying equipment. Duplicating aged patterns requires custom compound formulation and precise application speed to eliminate visible repair boundaries.
Common residential and commercial textures include orange peel, knockdown, skip trowel, and heavy acoustic finishes. Spraying orange peel texture requires adjusting air compressor pressure and spray gun nozzle openings to match pattern density. Knockdown finishes require letting sprayed compound droplets set up briefly before flattening them gently with a broad trowel.
Achieving a seamless blend on hand-applied finishes like skip trowel or swirl patterns requires skilled craftsmanship. Technicians use specialized trowels or brushes to mirror original hand movements and pattern spacing across repair zones. Matching the original pattern density prevents new patches from standing out under directional room lighting.
Environmental conditions such as temperature and ambient humidity directly affect how wall texture cures on fresh drywall. Following professional trade standards from the Painting Contractors Association , technicians adjust compound thinning ratios and drying times based on indoor job site conditions. Careful environmental control ensures consistent texture height, edge softening, and pattern distribution across the entire repair surface.
Phase 4: Final Surface Preparation and Paint-Ready Finishing
Once custom texture cures fully, applying a high-performance stain-blocking primer is essential before topcoat painting. Water-damaged wall repairs often contain residual tannin stains that can bleed through standard latex paints. Specialized alkyd or acrylic masonry primers seal raw joint compound and lock in potential stains completely.
Priming creates uniform surface porosity across both freshly textured patches and surrounding painted walls. Unprimed joint compound absorbs paint at a different rate than pre-painted drywall, resulting in uneven sheen variations known as flashing. A dedicated primer coat guarantees that final topcoats bond securely and display an even, professional finish.
Selecting the correct topcoat paint involves matching both original color formulations and precise sheen levels. Technicians use computerized color matching and test swatches to account for natural paint fading caused by light exposure. Applying two coats of premium interior acrylic paint seals the repair completely and restores original visual appeal.
A final quality walkthrough under high-intensity task lighting verifies that the repaired section blends seamlessly with adjacent surfaces. Checking wall angles, corner joints, and texture transitions ensures that repair edges remain entirely invisible to property occupants. Hiring experts for drywall repair Phoenix guarantees a durable, paint-ready finish that restores overall property values and interior comfort.
Long-Term Benefits of Hiring Licensed Drywall Specialists
Partnering with licensed drywall specialists ensures that interior repairs meet rigorous commercial trade standards. Professional crews possess specialized pneumatic spray setups, dust containment systems, and commercial drying equipment that DIY tools cannot match. Reliable execution saves property owners time, reduces structural risk, and eliminates costly repeat repairs.
Professional restoration services also protect overall property value by maintaining flawless interior finishes throughout your home or commercial facility. Seamless wall repairs eliminate visual reminders of past water leaks while preserving structural integrity behind interior finishes. Investing in experienced trade professionals guarantees lasting performance, health safety, and peace of mind for years to come.
Drywall Water Damage Questions
How can I tell if water-damaged drywall needs to be completely replaced?
Drywall must be replaced if it sags, feels soft to the touch, or shows visible mold growth. If the panel remains structurally firm with minor staining, it can often be dried, sealed, and refinished.
How long does structural drying take before new drywall can be installed?
Complete structural drying typically takes 24 to 48 hours using commercial dehumidifiers and air movers. Technicians must verify framing moisture levels with pin meters before installing new wallboard.
Why is drywall texture matching so difficult to do as a DIY project?
Duplicating aged wall patterns requires precise control over air pressure, nozzle sizing, and compound viscosity. Off-the-shelf aerosol spray cans cannot replicate the pattern density produced by commercial rig equipment.
What causes paint flashing over newly repaired drywall patches?
Flashing happens when raw joint compound absorbs paint faster than the surrounding painted surface, creating dull spots. Applying a dedicated stain-blocking primer seals the repair area to ensure an even finish sheen.
How do professionals prevent mold from growing inside wet wall cavities?
Specialists extract wet insulation, treat exposed interior studs with EPA-registered antimicrobial solutions, and run high-capacity dehumidifiers. This process eliminates moisture completely so mold spores cannot survive or spread.
Need Water-Damaged Walls Repaired?
Request an estimate for professional drywall repair, structural restoration, texture matching, and paint-ready finishing from Quality Key Paint & Remodeling LLC.
Request A Free Estimate